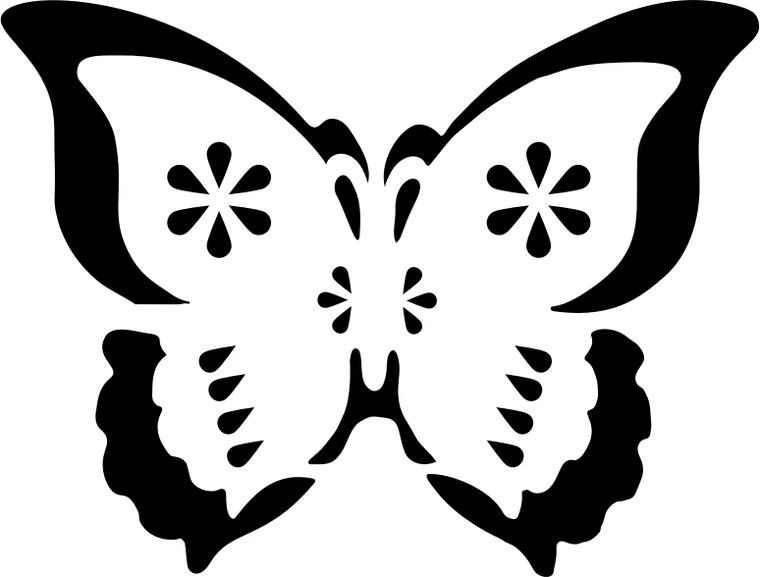
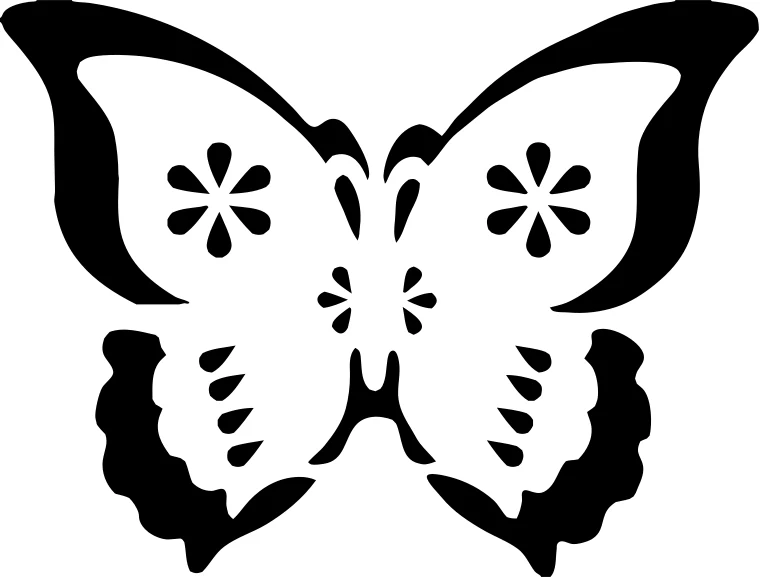
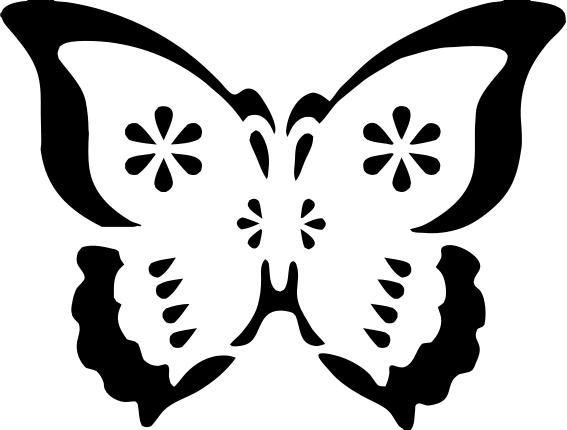
Butterfly stencil: wing spots are islands, shown as holes in the stencil.
Download example SVG (15 kB)Download example DXF (157 kB)
Source image: Openclipart, GDJ, CC0 1.0.
Upload an image, get a one-color cut file where the dark parts are the openings, and cut it in vinyl, Mylar or card.
Each pair is an actual conversion of a public domain image, with the settings listed under it. You can download the exact files.
Butterfly stencil: wing spots are islands, shown as holes in the stencil.
Download example SVG (15 kB)Download example DXF (157 kB)
Source image: Openclipart, GDJ, CC0 1.0.
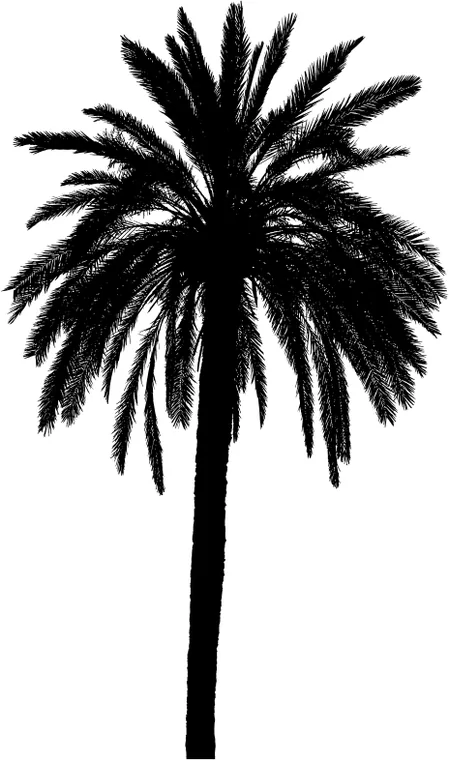
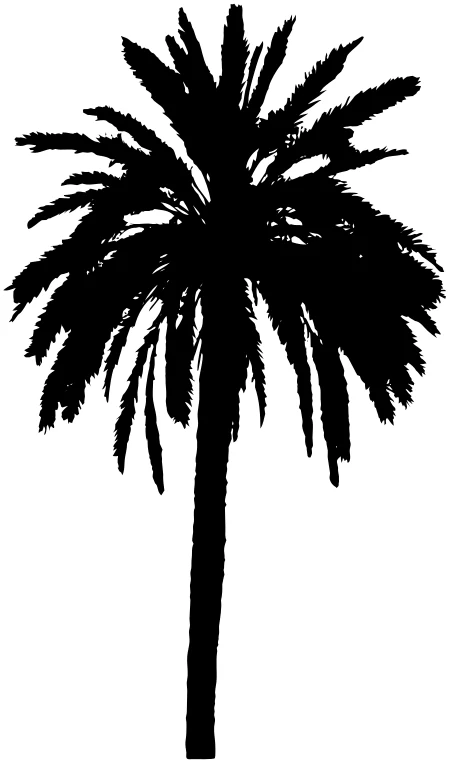
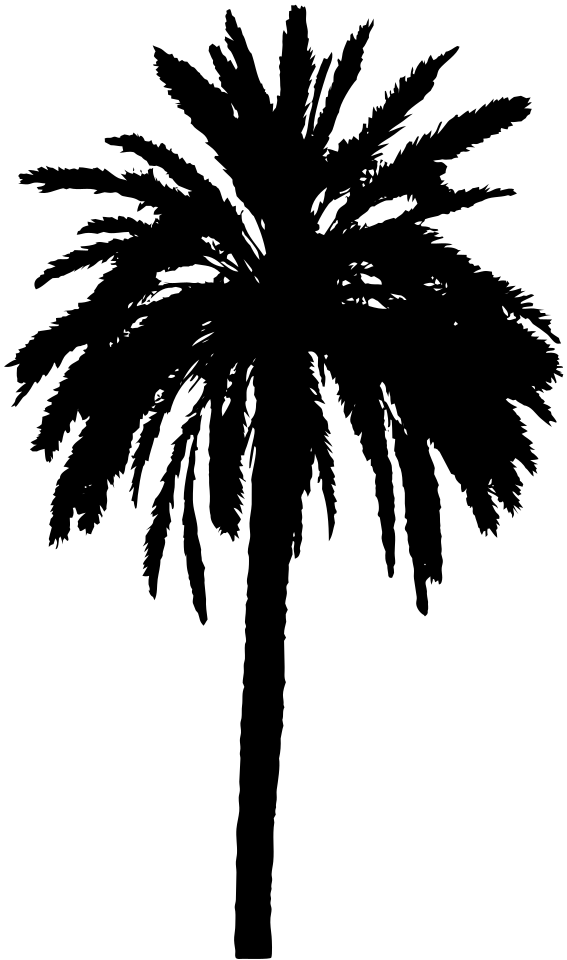
Palm tree silhouette in one color.
Download example SVG (83 kB)Download example DXF (469 kB)
Source image: Openclipart, GDJ, CC0 1.0.
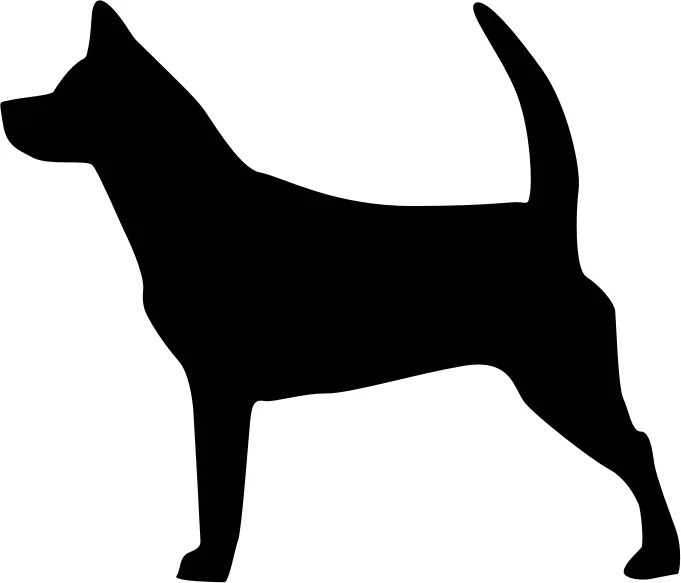
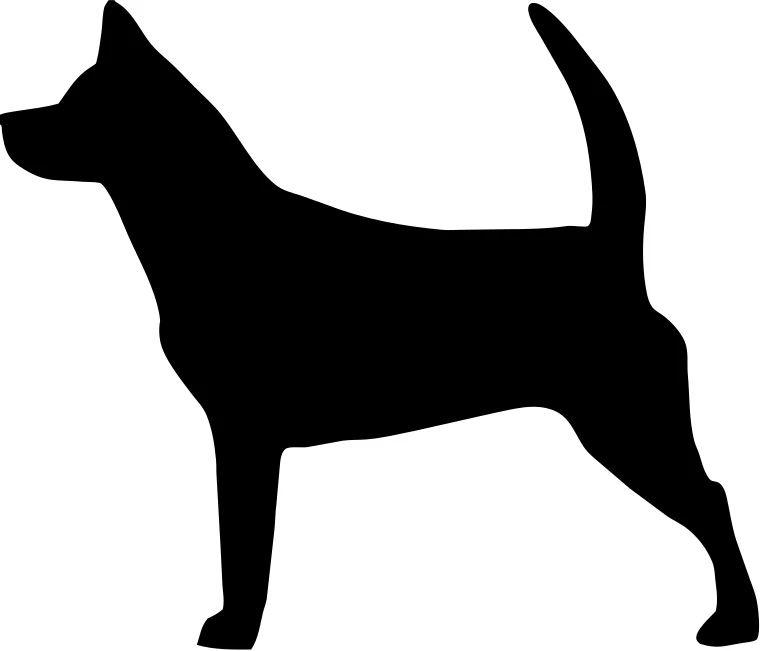
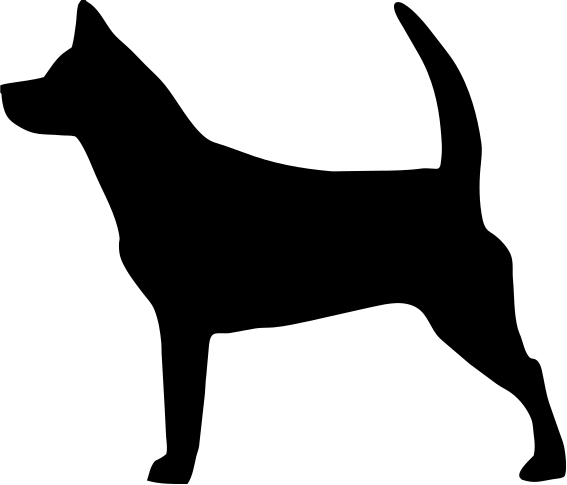
Standing dog silhouette.
Download example SVG (4 kB)Download example DXF (67 kB)
Source image: Openclipart, GangandInfographie, CC0 1.0.
Free sample files, not watermarked.
A stencil is black and white. The settings are fixed on purpose.
The dark parts of the image become the cut shapes, which are the openings where paint goes through. If you want the opposite, invert the image in any photo editor before you upload.
A stencil of the letter O has a problem: the middle disc has nothing holding it. The same happens with an eye in an animal silhouette. These are called islands and they fall out.
The converter does not add bridges. It gives you the exact shapes, and you add the bridges in your software.
Solid shapes with a clear outline are best: animals, plants, tools, letters. A photo of a face can work if you first turn it into a high-contrast black and white image, but the preview is the only way to know.
Only if it has strong contrast. A silhouette or a high-contrast black and white image is much better.
Where a bridge looks good is a design decision. We give you the exact shapes.
Yes. Use a thin film and press the edges to avoid bleed.